
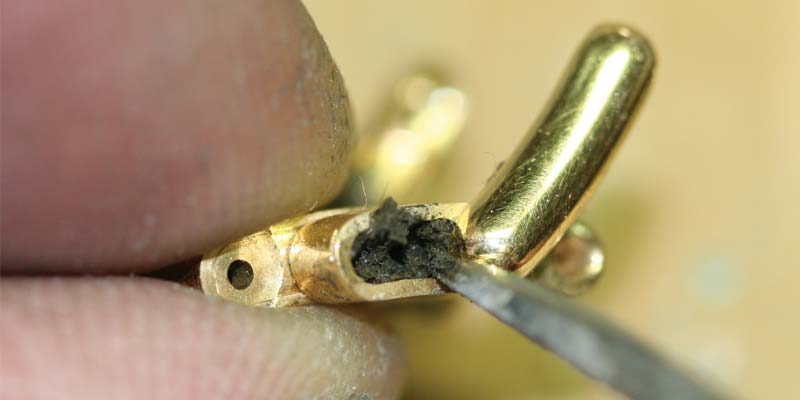


What lies beneath
I apologize if the first photo above is a bit gross, but it illustrates a point. This watch bracelet was cleaned prior to being cut apart. However, bracelets often have hidden compartments or small nooks that can be difficult to clean. Dirt and body oils can get trapped in areas around rivet wires or other moving parts, acting like sandpaper and wearing away these components. It is very important clients be made aware of the need to have their watches and jewellery professionally cleaned. In the case of a watch, the bracelet may need to be removed from the case and cleaned overnight or even boiled in a strong cleaner like ammonia or lye. This is not something customers can do on their own.
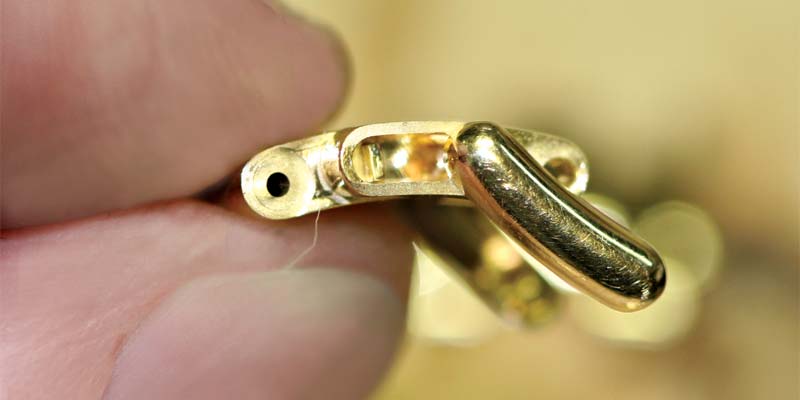
Great care must be taken when drilling out old rivet wires. This is an area where I sometimes see bench jewellers rush to get the job done. In the case of this Rolex, I had to find the exact location of the previous rivet and drill directly through it. Rolex does a great job in its manufacturing and you’ll likely not see pitted solder seams or other indicators of rivet locations.
I spent a good deal of time measuring with very sharp calipers to locate the centres of the old rivets. I also used a centre punch or small ball bur to make an indentation on the outside of the link. Doing so helps guide the drill bit and prevents it from wandering.
I prefer using a smaller bit first to drill a pilot hole and then follow up with the correct bit size. Drill bits must be sharpened on a whetstone or graver hone so they will cut cleanly. A dull drill bit can easily become bound in the metal and snap off. It can also leave an oversized, ragged hole, since the bit cannot effectively discharge the chips of cut metal.
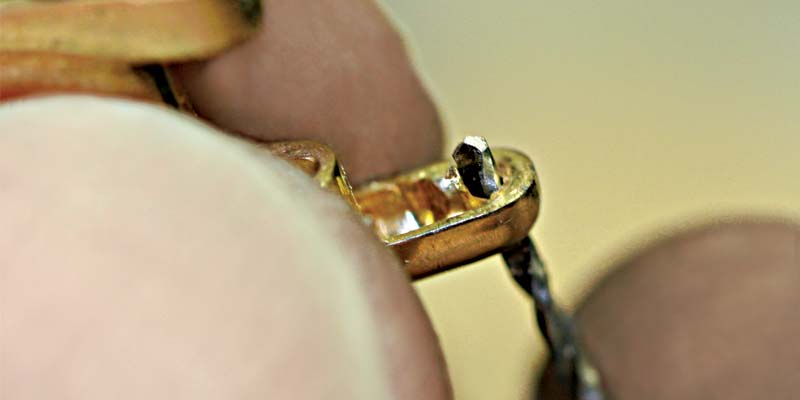
A new rivet wire should fit the hole precisely. Rolex tends to use non-standard size wire for its rivets, which means I had to draw down a 1-mm wire to 0.92-mm for it to fit the hole correctly. Had I just grabbed a standard 18-gauge (0.80-mm) gold wire, there would have been a gap between the rivet and link. This would then become a new area where dirt could collect and wear down the new rivet wire even quicker than the old one. When working with nicely made jewellery, there is no room for sloppy work.
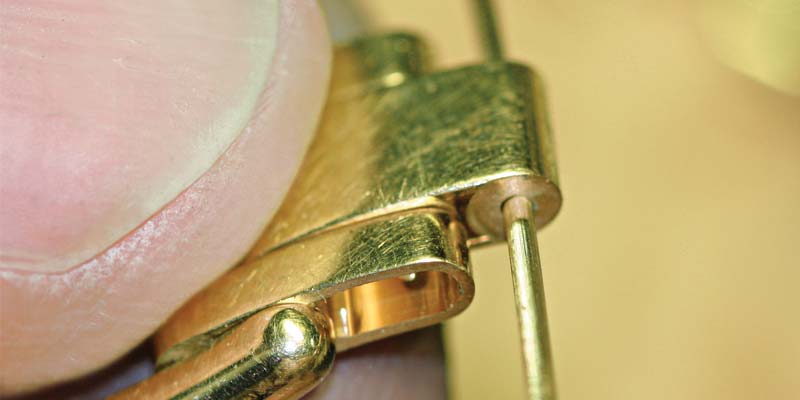
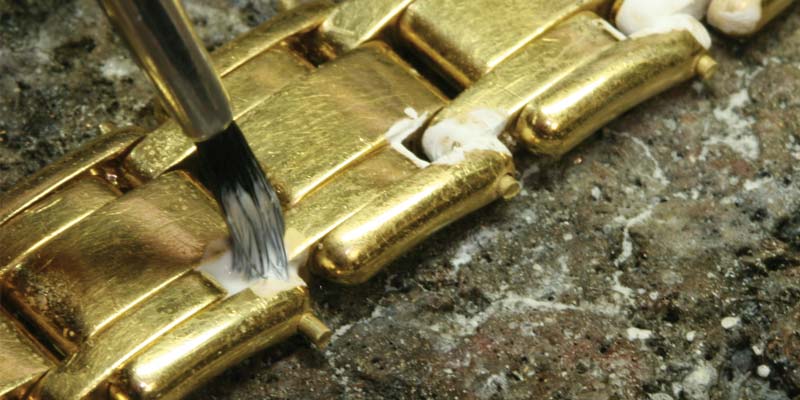
After all the rivet wires have been replaced, the next chore is soldering them to the outer links. This is a tightly fitted bracelet, with no spaces between the links. Soldering in situations like this can be problematic. As can be seen in the photo to the left, I’m using a mixture of white rouge powder and water to coat the space between the links prior to soldering. Solutions like this are called anti-solder. Used in extremely tight spaces, their job is to prevent molten solder from flowing down the rivet wire and soldering the outer and inner links together. To see how to make your own anti-solder paste, check out Tom’s Tool Tip.
To solder the rivets in place, I used 18-karat yellow gold hard plumb solder. Use nothing but the best materials when repairing an expensive watch like this one. For this soldering job, I applied a rather large, neutral flame. Since there is a lot of gold mass in this bracelet, it required a large flame to bring the metal up to soldering temperature. When the bracelet was hot enough, I used a technique of wafting the flame back and forth over the rivet. This allows the heat to spread evenly into the mass of metal, preventing the gold from overheating and the solder from pooling in one area.
When working on large items, remember to not rush things and overheat the metal with an oxidizing flame. Aside from the strong chance of melting the metal, fire scale will also occur, causing the solder to flow erratically, boil, and pit. In short, you will have a serious mess on your hands.
This job turned out well, and my customer’s watch is ready for another 12 years or so of wear.


